
Why document Jamf Pro?
"Documentation isn't fun," said Mick Conners, Senior Desktop Engineer, Madison Area Technical College. "But it's a necessary evil if you want help. We are the subject matter experts. Share your knowledge with colleagues so they can be helpful to you."
Conners walked attendees through his process for putting documentation together during this JNUC 2020 presentation.
The document he created is lengthy and detailed, with a glossary of terms, and it's meant to be reference material for those searching for how to do something rather than training or required reading. It took him six weeks and "a lot of copy and pasting and pasting and then pasting again."
What should you document?
Document everything you can -- especially everything you would like other people to do for themselves. Workflows, your organizational policies regarding software and hardware, everything you can think of.
Think of your users and their needs. Those primarily accustomed to a Windows environment will need a lot of help in a lot of areas. Here are a few key items to document:
- Workflows
- Naming conventions
- Policies and how they interact with Macs
- Config profiles
- Smart Groups
- The history of what Jamf Pro is doing and how they can use it
What should you not document?
Don't get into creating packages, policies, or profiles. Instead, link to Jamf's already existing admin guide.
What tools do you use?
Conners used:
- Jamf summary reports
- The macOS screenshot tool command shift 4
- MS Word
- Adobe Acrobat DC
Gathering the information
Conners started by going to the Jamf Summary under the management tab in Jamf Pro. From there, he created a new summary report for what he wanted to document using the selection boxes.
Then, he downloaded text files of the summary reports, copied and pasted them into Word, cleaned them up, and saved them with a descriptive name.
For each policy, he used a Word heading, which is very important for creating a Table of Contents later.
Creating the document
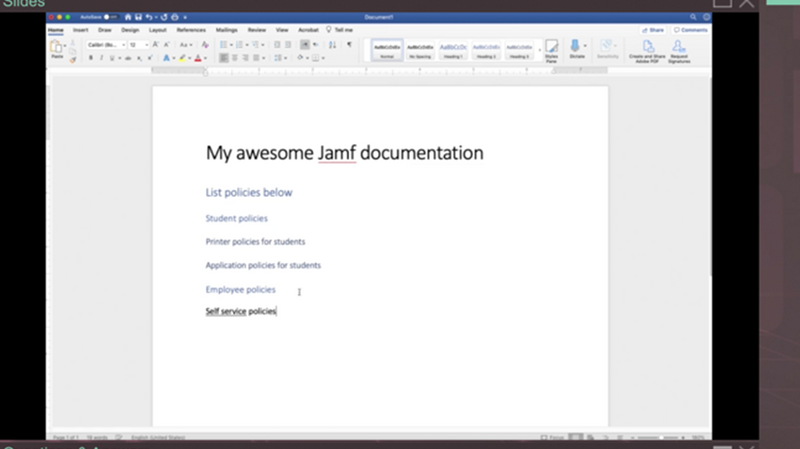
Using the summary reports as a guide, Conners began to write his instructions for each step in a conversational manner. "Write down every step so it's clear and concise," says Conners. "Don't assume your reader understands Jamf, or even a Mac. Spell it all out."
As Conner went along, he also used screenshots to demonstrate the written instructions, and used numbers to indicate that these were sequential directions instead of bullet points.
He used Headings 1, 2, and 3 for subjects and subcategories for ease of reading and for creating a table of contents, which is automated in Word if you use headings.
He then created the table of contents using Word's built-in feature.
But he wasn't done yet.
"Get someone to proof it for you who isn't familiar already with the workflows," said Conners." They will find things that don't make sense to them." Conners also walks or reads through his document days or weeks later for clarity. "That's when you find you missed a few steps or created a gap," he said.
How to make it sheareable
It's vital to convert the Word document into something you know will keep layout and links intact; you don't want to lose the links you so carefully put into the document to outside sources, and you don't want to lose the anchor links Word put into the documentation when creating the table of contents. The best way to do this is to convert to a .pdf.
But wait! DO NOT file --> print --> save to desktop as a .pdf. It will not preserve links.
What you need to do is open the Word document from inside of Acrobat, using 'show all files.'
Then, saving/exporting it as a .pdf will retain the document's links and other properties.
Remember: this is not something to do in a few hours or even days or even weeks. This is a long-term project that you do with care because you know that you will reap the benefits of greater user autonomy down the road.
To see step-by-step tutorials of how to create your own documentation, view the full how to document Jamf JNUC 2020 video.
Subscribe to the Jamf Blog
Have market trends, Apple updates and Jamf news delivered directly to your inbox.
To learn more about how we collect, use, disclose, transfer, and store your information, please visit our Privacy Policy.