

More and more organizations are looking into ways to lower the number of local accounts on macOS endpoints having administrator permissions instead of standard, while still providing options to the end user to gain access to administrator permissions at the moment they do require it.
With tools like Jamf Pro, Jamf Connect and Microsoft Power Automate, we can build incredible smart workflows providing the end user flexibility as well as an additional layer of control for the IT administrators.
Requirements
Before you begin, make sure you meet the requirements below.
-
You have access to Jamf Pro and to create bookmarks in Self Service
-
Access to Microsoft Power Automate with a valid or trial license
-
Access to Microsoft Forms
-
Access to Microsoft Azure AD with the permissions to create or read security groups
1. Create form in Microsoft Forms
a) Open a browser and navigate to https://forms.microsoft.com.
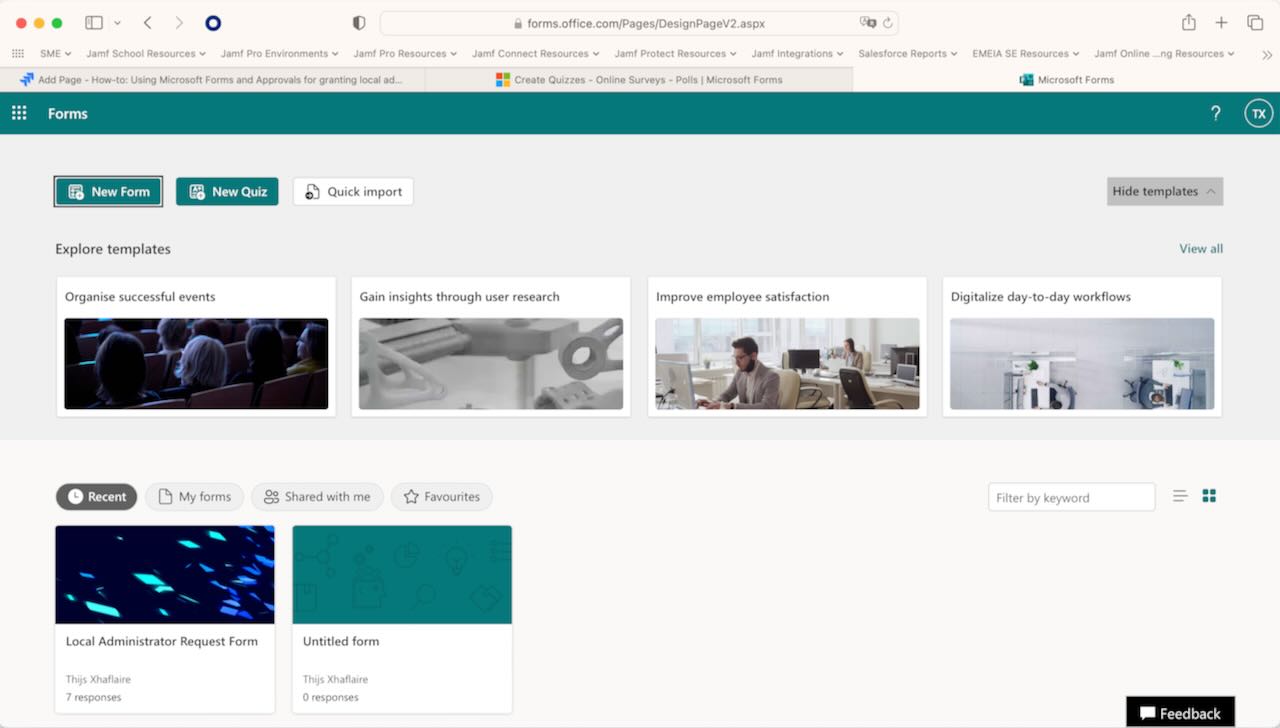
b) Create a new form.

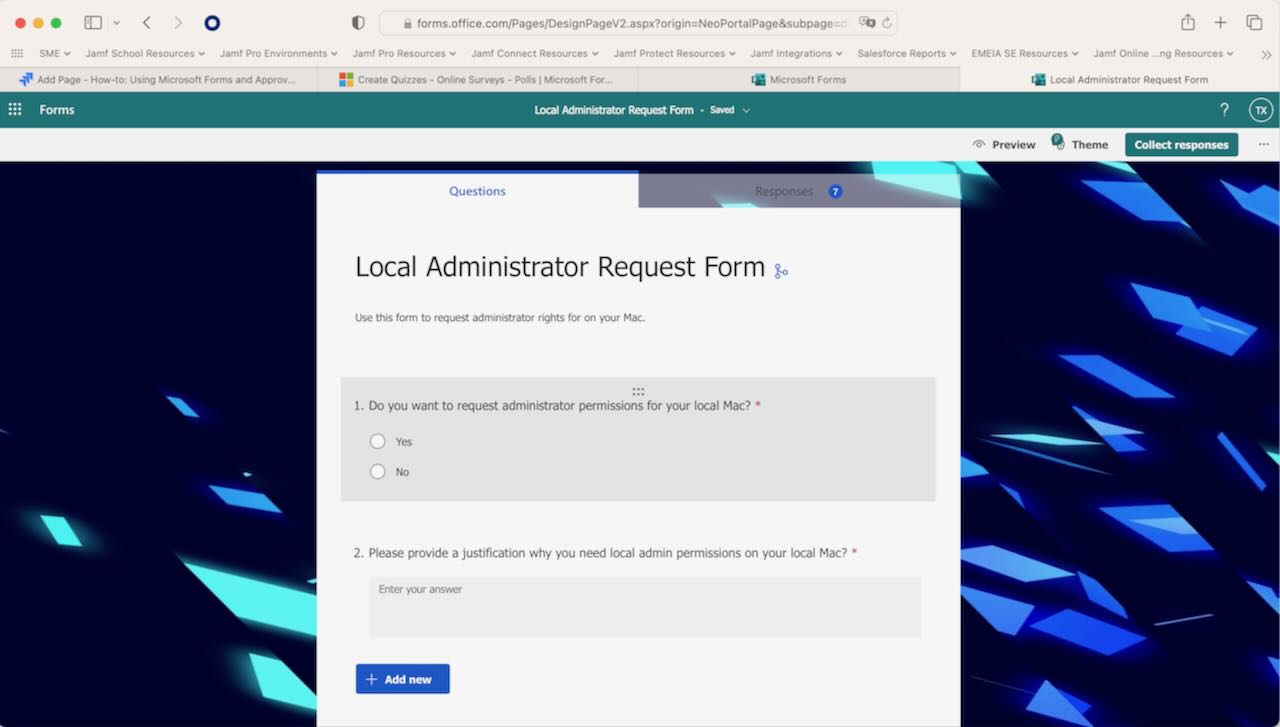
c) Create a form as in the example screenshot. Feel free to customize it to your needs! We are going to use the questions and responses later in the workflow.
2. Create flow in Microsoft Power Automate
a) Open a browser and sign in to Power Automate with your corporate credentials and the account with a valid/trial Power Automate license.
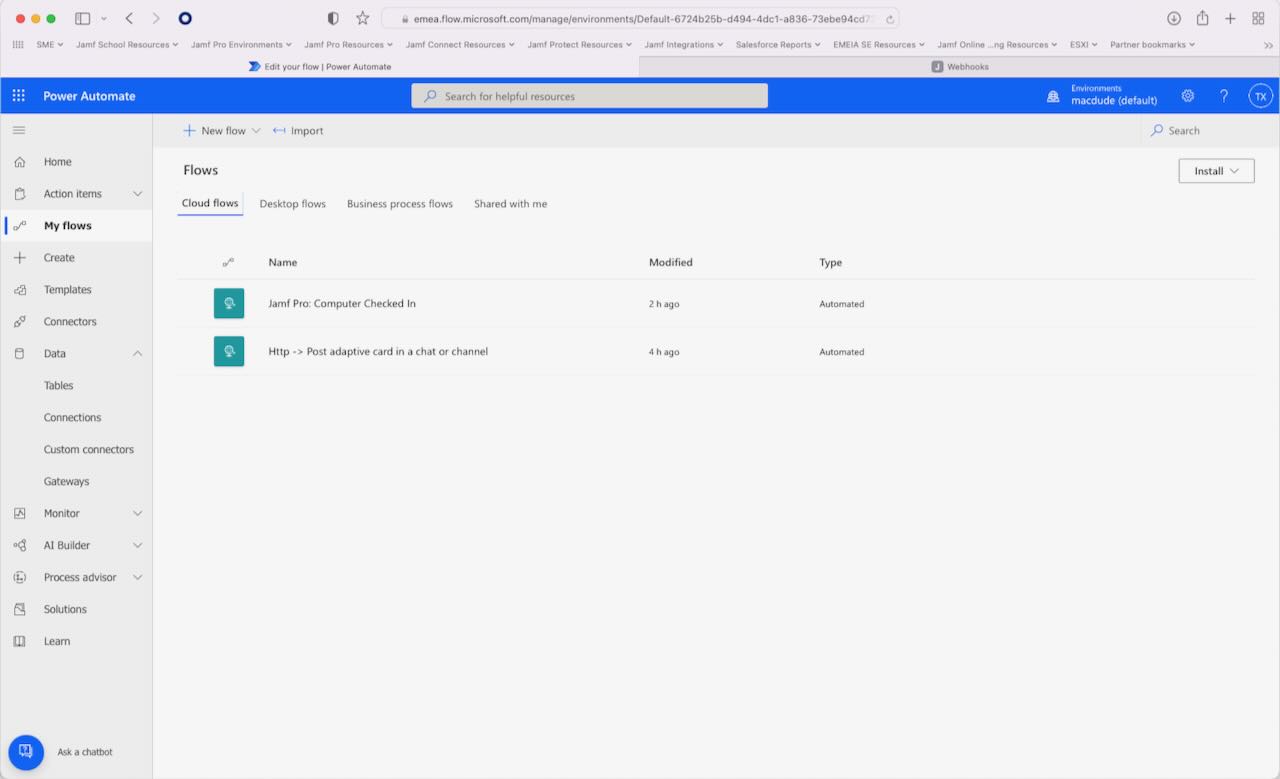
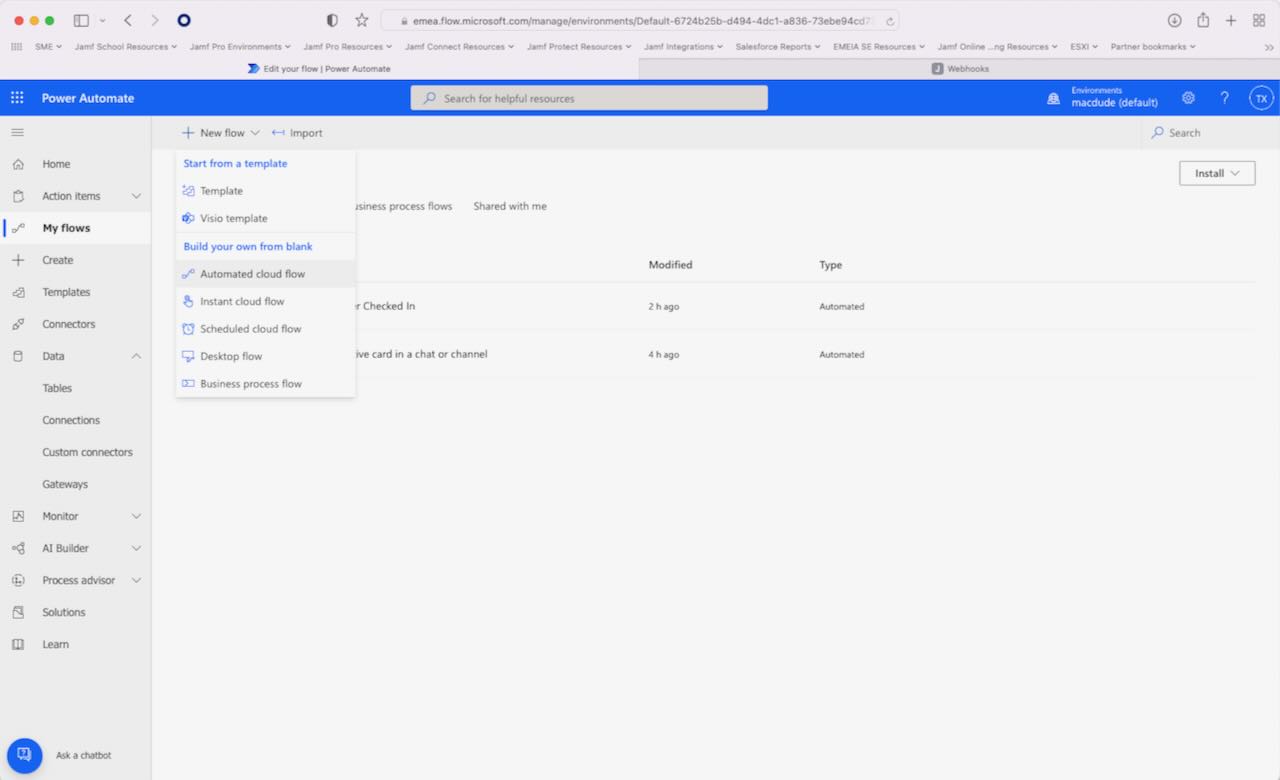
b) In the navigation tree on the left side, click on My Flows and click on the + to create a new Automated cloud flow.
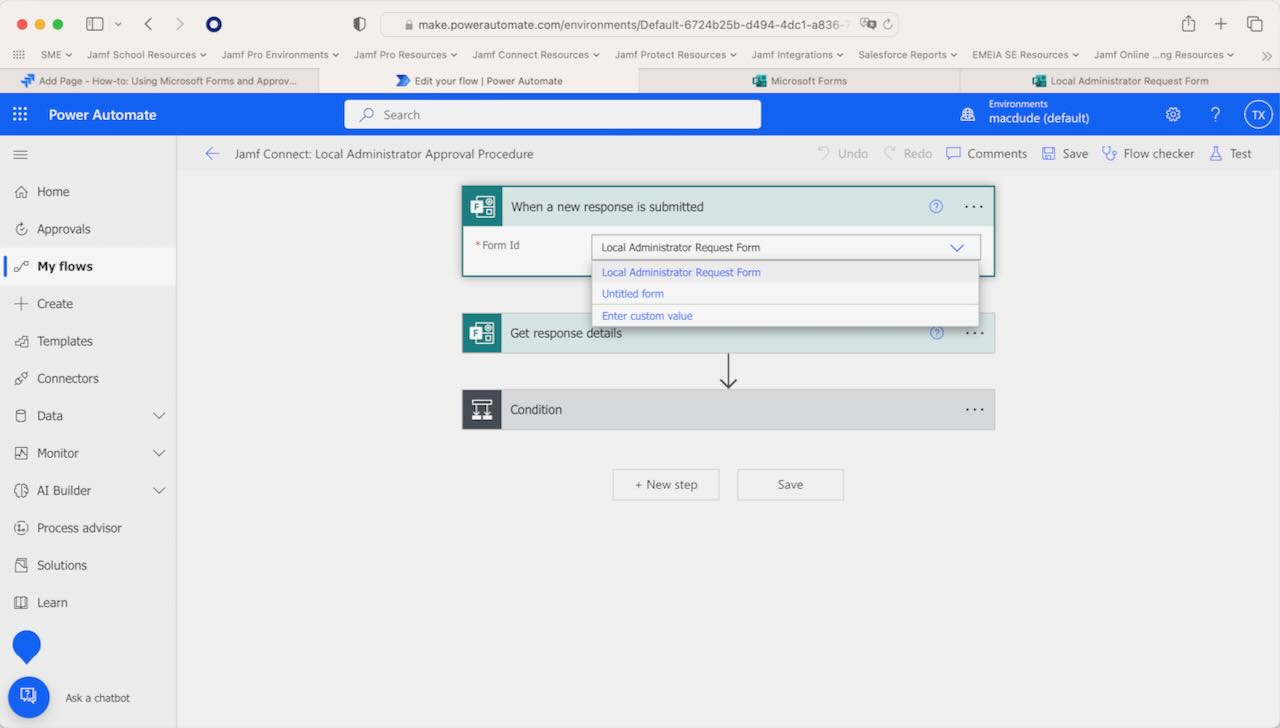
c) Give your flow a Name, search for flow trigger When a response is submitted and select it as trigger.

d) In the When a response is submitted we need to populate a formid. If your form is already created, this should be a populated list. Select the form you created for this workflow in step 1.
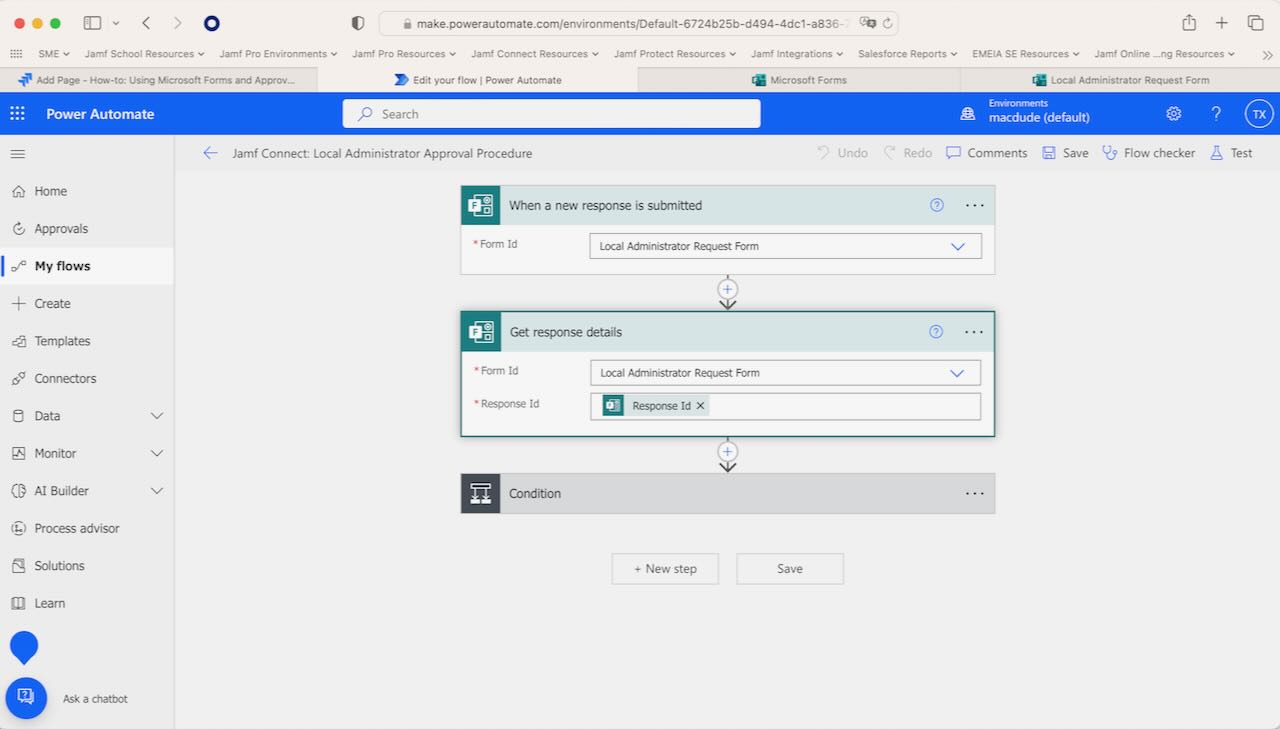
e) Add a new action and select Get response details and select the responseid from the form selected in the first step in the workflow.
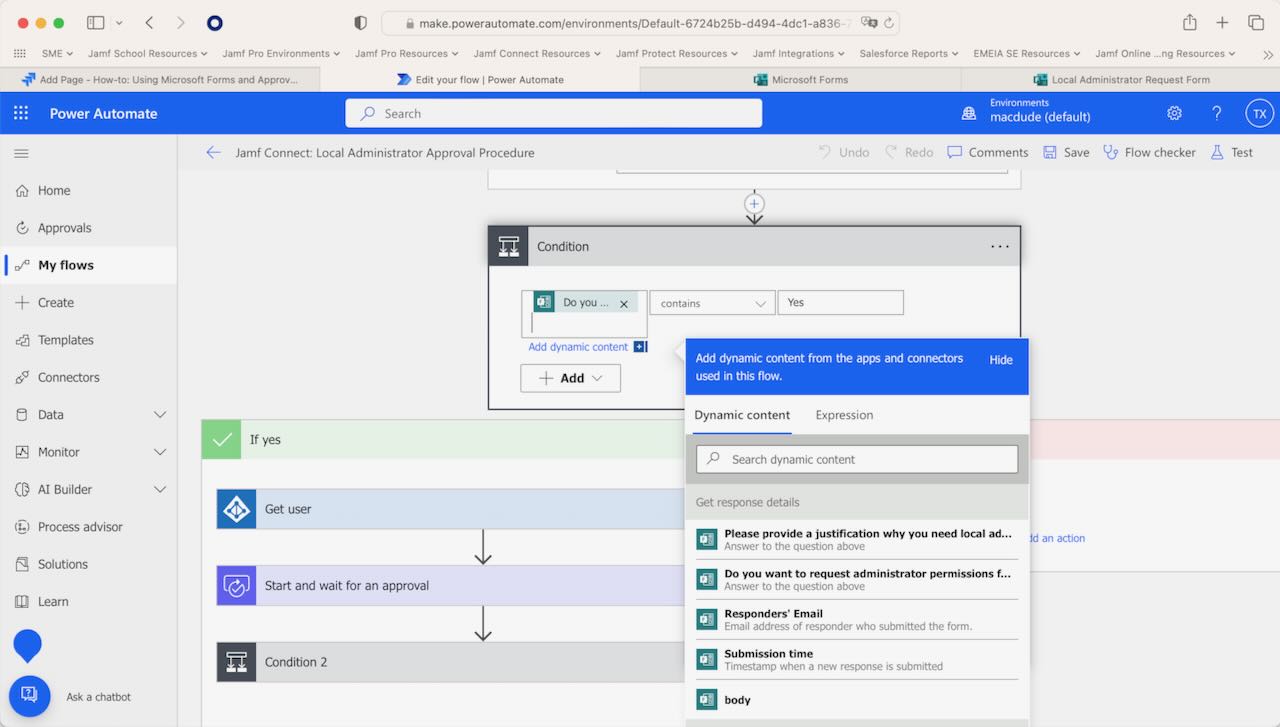
f) Add a new action and select condition. Select a question from the form; in this example this is Do you want to request local admin permissions? and the condition is If yes.
g) Continue in the If yes condition and add a new action Get User from the Azure AD integration. For the UserID, select the Responders' Email output.
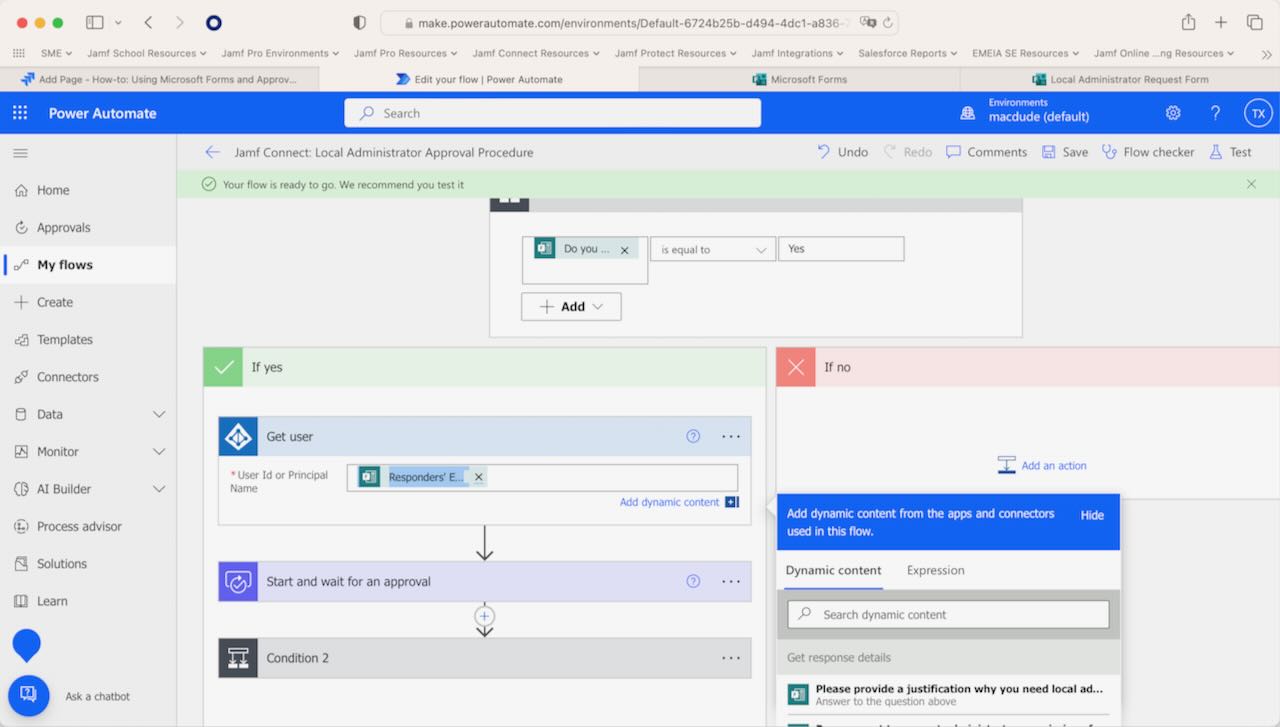
h) Add a new action and select Start and wait for an approval. As seen in the screenshot, set the following parameters:
Approval type: Approve/Reject - First to respond
Title: Local Administrator Approval Request
Details:
## Approval Required
A user has requested to elevate to local administrator permissions on their local macOS endpoint, please review the request.
User: [Display Name]
Job Title: [Job Title]
Justification: [Please provide...]
Timestamp: [Submission time]

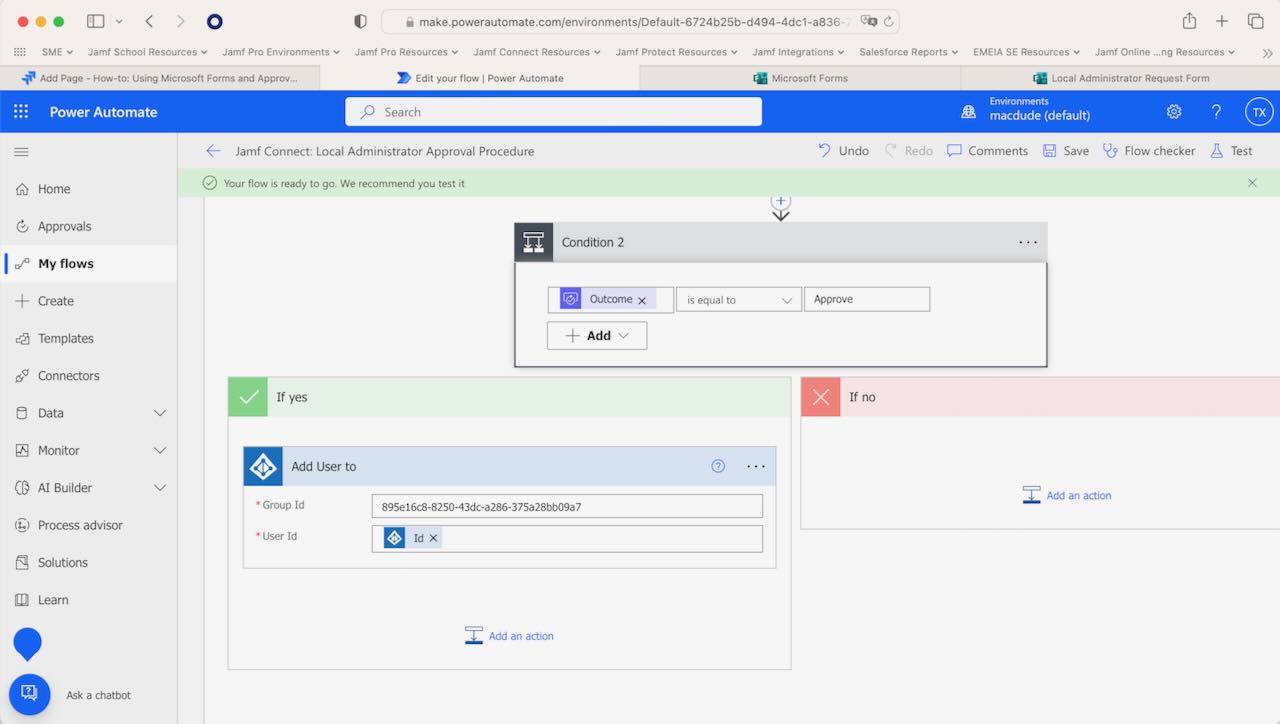
i) Add a new action and select Condition. This example uses the Outcome variable from the approval response, which is set to Outcome is equal to Approve.
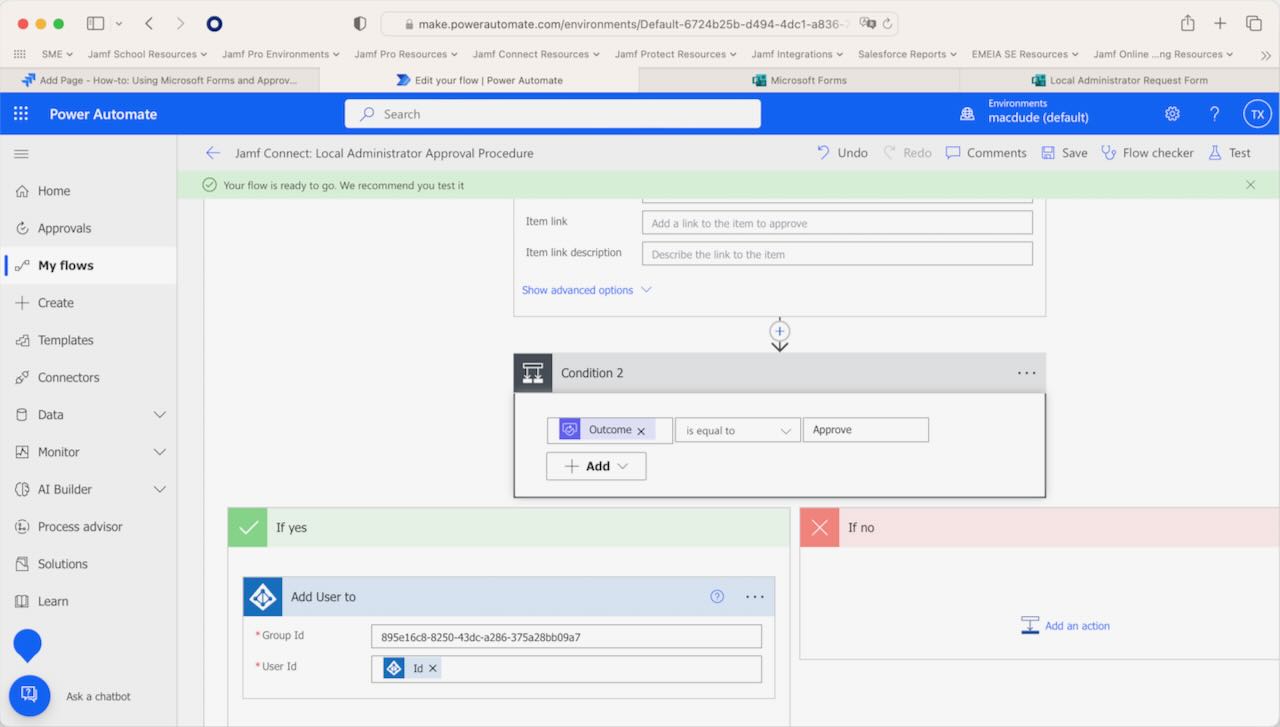
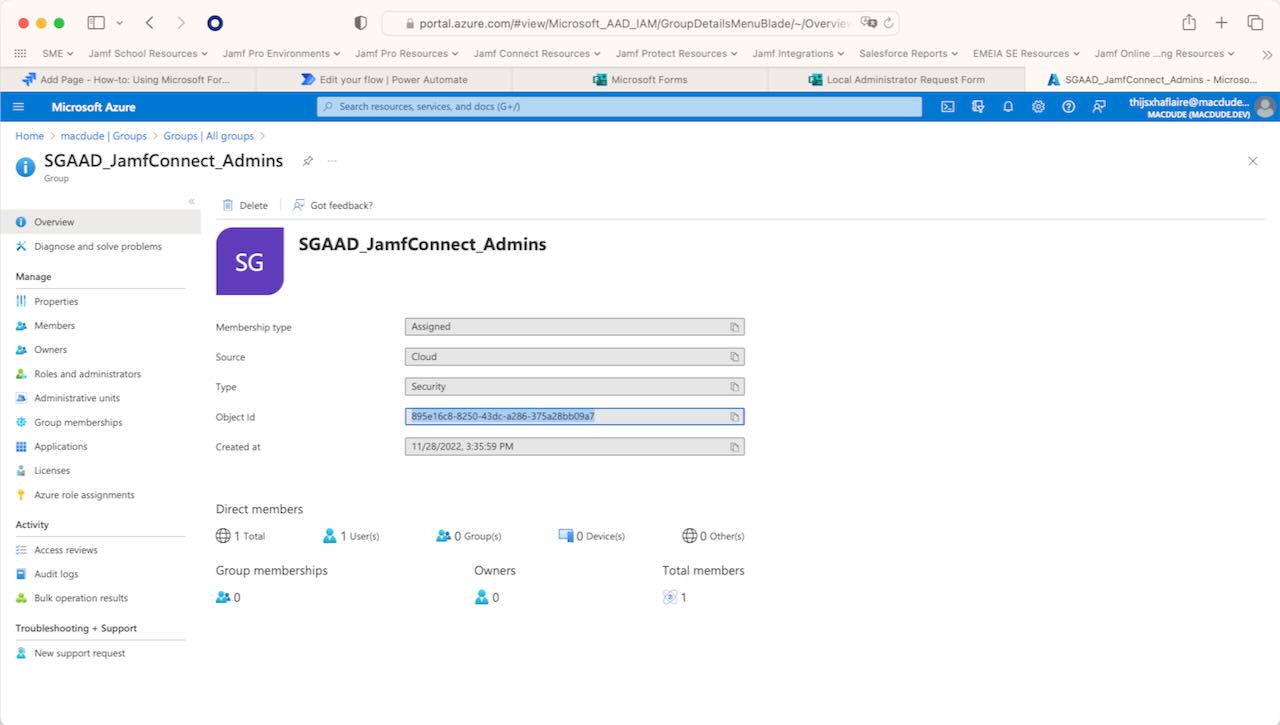
j) Continue in the If yes condition and add a new action Add User To from the Azure AD integration. Copy the Object Id from the Azure AD group you'd like to add the user to, and paste it into the Group Id. The User Id is the Id returned by the Azure AD Get User output.
k) Save and enable the Flow.
Result
A user uses Jamf Self Service to request local admin permissions, fills in a form and a requests and approval flow kicks off to the selected approvers. Once approved, the user gets added to a certain group and tools like Jamf Connect or others are able to promote the user to a administrator level in an automated fashion. This is what is seen from the user's perspective:
Watch a step-by-step walkthrough of this process!
订阅Jamf博客
和苹果以及Jamf相关的最新讯息、市场动态都将会直接发送至您的信箱
要进一步了解我们如何收集、使用、披露、传送以及储存您的信息,请浏览我们的隐私政策。