

One of the many challenges teachers face with remote learning is how to securely test students from home. Our curriculum team asked for a means to lock the students into a testing website while also allowing access to Zoom so they can monitor device screens in breakout rooms. The Teacher app in Jamf School allows you to do this relatively easily.
This tutorial shows you how to safely lock your students into an assessment while allowing access to Zoom in order to view their screen. You will want to create a Zoom session that supports multiple users sharing their screens in order to view the iPads. Once in the Zoom session, participants should be separated into breakout rooms, microphones muted, and chat disabled. The Jamf Teacher/Student App can be used if needed for Q&A or backchannel communication.
On a Mac, log in to Jamf Teacher with your institution’s URL or open the Jamf Teacher app on your school-issued iPad.
Creating Lessons
We will create Lessons that are templates we can use to lock the iPads into the desired state. In this instance we want to restrict them to the testing URL and the few apps needed for testing and to monitor the iPad.
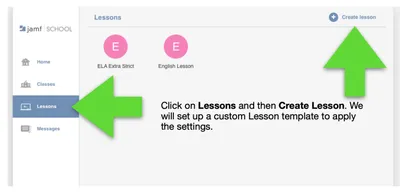
Click on Lessons and then Create Lesson. We will set up a custom Lesson template to apply the settings, and then give the Lesson an appropriate name.

Next, select which Allowed Apps you want for the exam.
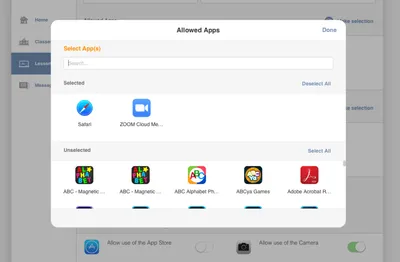
If you want to use a web-based assessment and monitor the iPad screens with Zoom, you will select Safari and Zoom as Allowed Apps. You may also consider allowing a calculator or dictionary app or even the Jamf Student app to enable messages between teacher and student for Q&A. Click Done when finished selecting apps.
Next, click on Allowed Websites and enter any URLs needed for your web-based assessment. In this example we are using Smaaton.com, a web site that can host tests for K-12 education and has some LMS features. too.
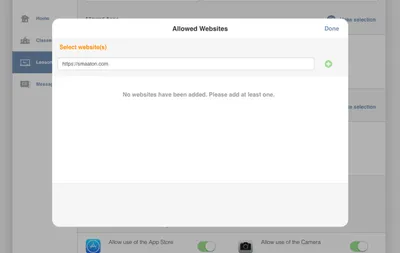
This will create a web filter that will only allow access to the test on the sites you specify here. Note: If your assessment uses resources from other servers, you may need to whitelist those URLs, as well. It’s important to note that whitelisting Google resources for assessments may give unintended access to searching the internet.

In Restrictions, we will want to disable any device features that might interrupt or invalidate the test. For example, we have turned Spellchecking and Autocorrect off. If you want to use your assessments with Zoom, be sure to allow Safari and the Camera.
Review your settings to Allowed Apps, Allowed Websites, and Restrictions. If satisfied, click Save. You are now ready to apply the Lesson to your Class and proctor the test.
Apply the lesson to your class iPads
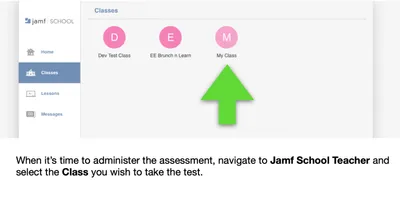
When it’s time to administer the assessment, navigate to Jamf Teacher on the web, or with the iPadOS app, and select the Class you wish to take the test.
Note: You will want to make sure that you have the Class populated with any students who may need to take the exam. Please refer to the Jamf School Teacher documentation for more information on how this is done.
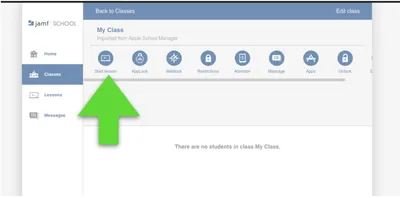
Once in your class, click Start Lesson and select the Lesson you created for Secure Test Administration.
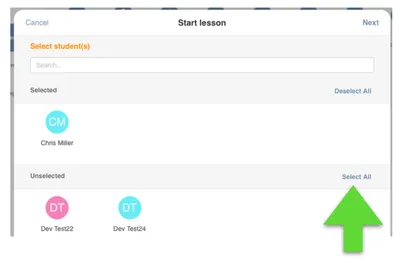
Click Select All or Select the individual students in the class taking the test.
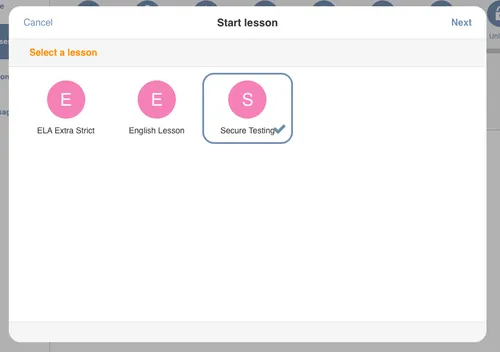
Select the Lesson template you created for the Secure Testing session.
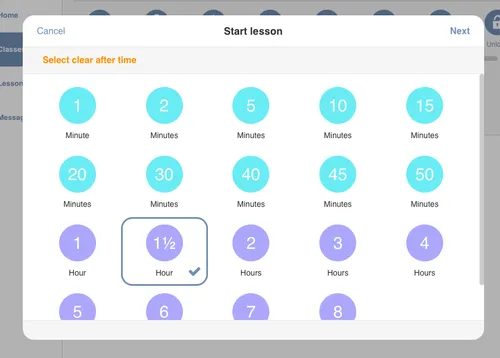
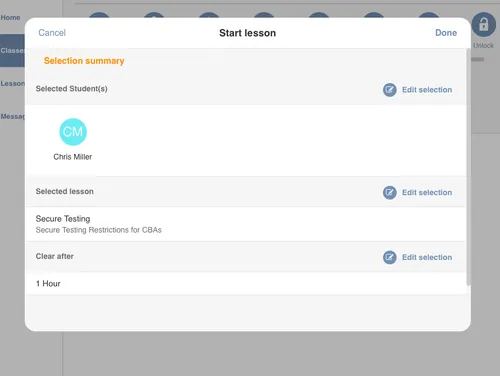
Select the maximum amount of time you wish for the Lesson in order to lock the student iPads into a secure state. You can always Unlock the iPad restrictions or end the class (on iPad) if they finish early. Then, review the summary and click Done to start the lesson.
Once the Lesson has been applied, your students will only see the apps you have added to the Allowed Apps list and only visit websites listed in the Allowed Websites list. This Lesson can be reused in the same Class or in other classes any time you need. Just follow these same steps. (Note: Leaving a Class when using the Teacher app for iPad will automatically stop the lesson on the students’ iPads in the class. If you want to apply the Lesson to multiple classes, consider using the web-based version instead.)
Your student can then open Zoom and join your class session. Ask the students to share their screen. Be sure to mute all microphones to prevent crosstalk or sharing information.
When you are ready to begin the test, the students can click on a pre-deployed WebClip or navigate to the website URL designated for the test.
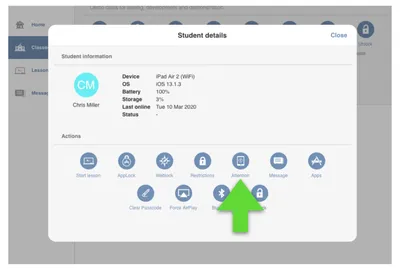
During the exam, actively monitor the students’ screens in the Zoom breakout rooms to verify that they are working on the test. If you need to pause the exam, or if you suspect someone isn’t doing what they should, you can use the Jamf School Teacher app to lock the screen with the Attention feature. This can be applied to the whole class, group, or to individual students.
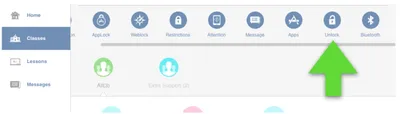
When students are finished taking the exam, Unlock the iPads and exit the Class in Jamf School Teacher, and be sure to end the Lesson to clear restrictions. You will also want to deactivate any access to the testing URLs on your web server.
To learn more about using Jamf Teacher, click on their guide that provides step-by-step instructions on how to use the features in Jamf Teacher.
Jamf also has a free Parent app that allows you to manage your own children’s school-issued iPads. Using Jamf Parent, you can restrict or allow apps and device functionality on your children’s devices. Check out another post, Jamf Parent App Lets You Manage Your Child’s School Issued iPad at Home to learn more.
This blog originally appeared on EDTECHCHRIS
Put this workflow to the test with a free trial of Jamf School.
Subscribe to the Jamf Blog
Have market trends, Apple updates and Jamf news delivered directly to your inbox.
To learn more about how we collect, use, disclose, transfer, and store your information, please visit our Privacy Policy.